
SendLayer is a dedicated transactional email service with a straightforward setup process. Like Resend, it uses an HTTP API rather than SMTP, so there is no server configuration involved. Add a domain, verify it, copy your API key, and you are sending.
SendLayer’s plans start with a free trial and scale to high-volume tiers.
Prerequisites
- A SendLayer account — sign up at sendlayer.com
- A domain you control, with access to its DNS settings
- The domain verified in your SendLayer account
Setup
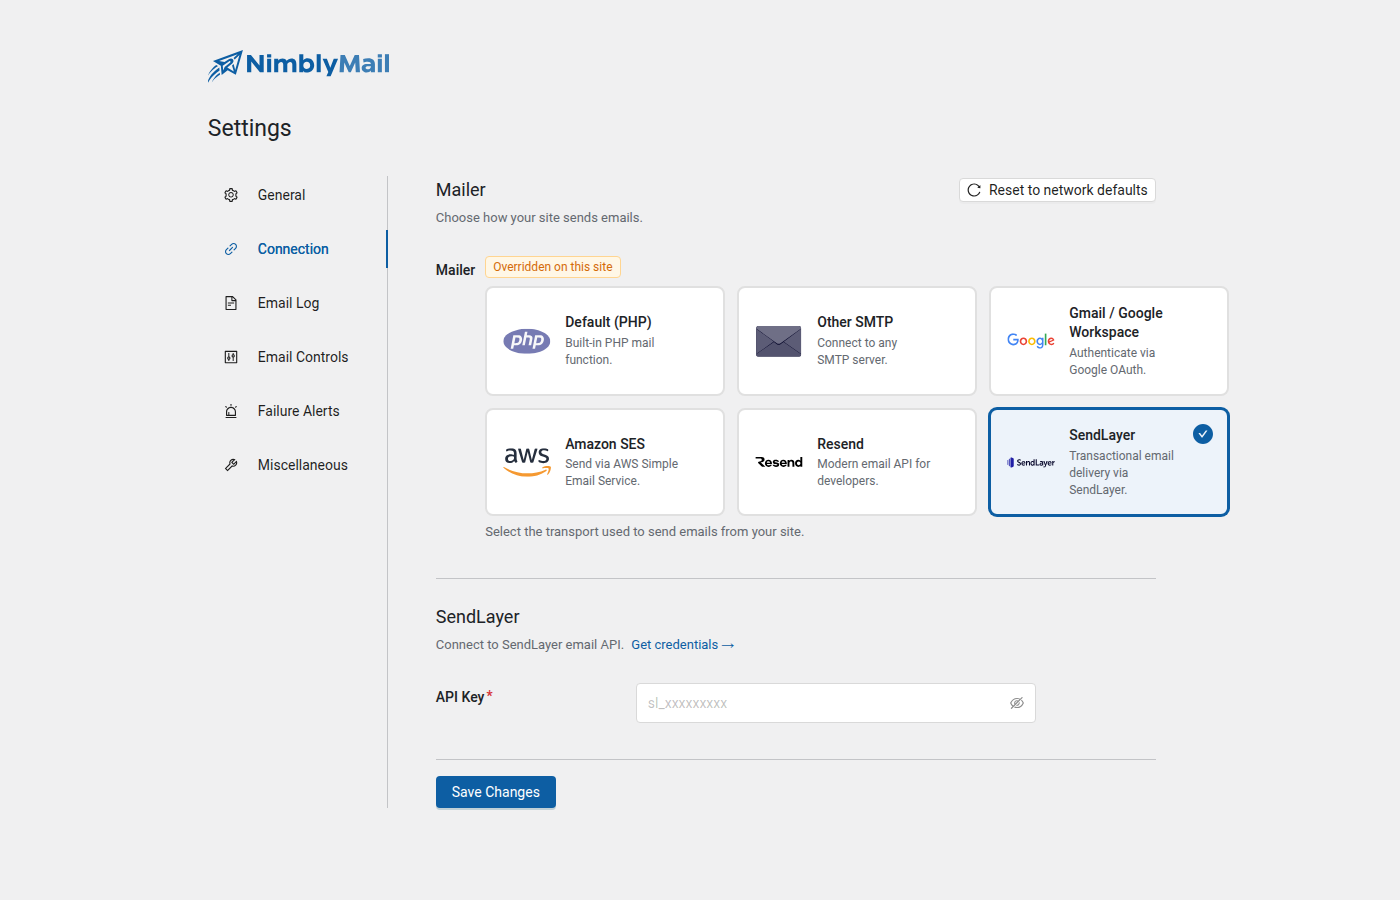
Navigate to WP Admin > NimblyMail > Settings > Connection > SendLayer.
Step 1 — Create a SendLayer account
Go to sendlayer.com and sign up. Once your account is active, log into the SendLayer dashboard.
Step 2 — Add and verify your sending domain
In the SendLayer dashboard, go to Domains and click Add Domain. Enter the domain you want to send from and follow the prompts.
SendLayer provides DNS records to add to your domain, typically including:
- A DKIM record to authenticate your messages
- An SPF record to authorize SendLayer as a sender for your domain
- A DMARC record (recommended for protecting your domain from spoofing)
Add these records in your DNS provider’s control panel. DNS changes can take a few minutes to several hours to propagate.
Once propagation is complete, return to the SendLayer dashboard and verify the domain. The domain status must show as verified before SendLayer will accept messages from it.
Tip: SendLayer’s dashboard shows a DNS checker that you can use to confirm each record is live without leaving the page.
Step 3 — Get your API key
In the SendLayer dashboard, go to Settings > API at app.sendlayer.com/settings/api.
Copy your API key from this page. The key starts with sl_.
Warning: Treat your API key as a password. Anyone with your API key can send email through your SendLayer account. Do not commit it to version control or share it in plain text.
Step 4 — Enter the API key in NimblyMail
In WP Admin > NimblyMail > Settings > Connection > SendLayer, paste your API key into the API Key field. The key starts with sl_.
Click Save Settings.
Step 5 — Test delivery
Navigate to WP Admin > NimblyMail > Tools > Email Tester and send a test email to confirm that messages are delivered correctly.
Field Reference
| Field | Description |
|---|---|
| API Key | Your SendLayer API key. Starts with sl_. Stored encrypted. Example: sl_xxxxxxxxx. |
Constants (wp-config.php)
define( 'NIMBLY_MAIL_SENDLAYER_API_KEY', 'sl_xxxxxxxxxxxxxxxxxxxxxxxxxx' );Tip: Defining the API key as a constant in
wp-config.phpprevents it from being changed through the WordPress admin and protects it from being exported in a settings backup.