
Resend is a transactional email API built for developers. Setup takes a few minutes: add a domain, generate an API key, and paste it into NimblyMail. There is no SMTP configuration, no OAuth flow, and no AWS console to navigate.
Resend’s free tier includes 3,000 emails per month and 100 per day, which is sufficient for many small to medium sites.
Prerequisites
- A Resend account — sign up at resend.com
- A domain you control, with access to its DNS settings
- The domain verified in your Resend account
Setup
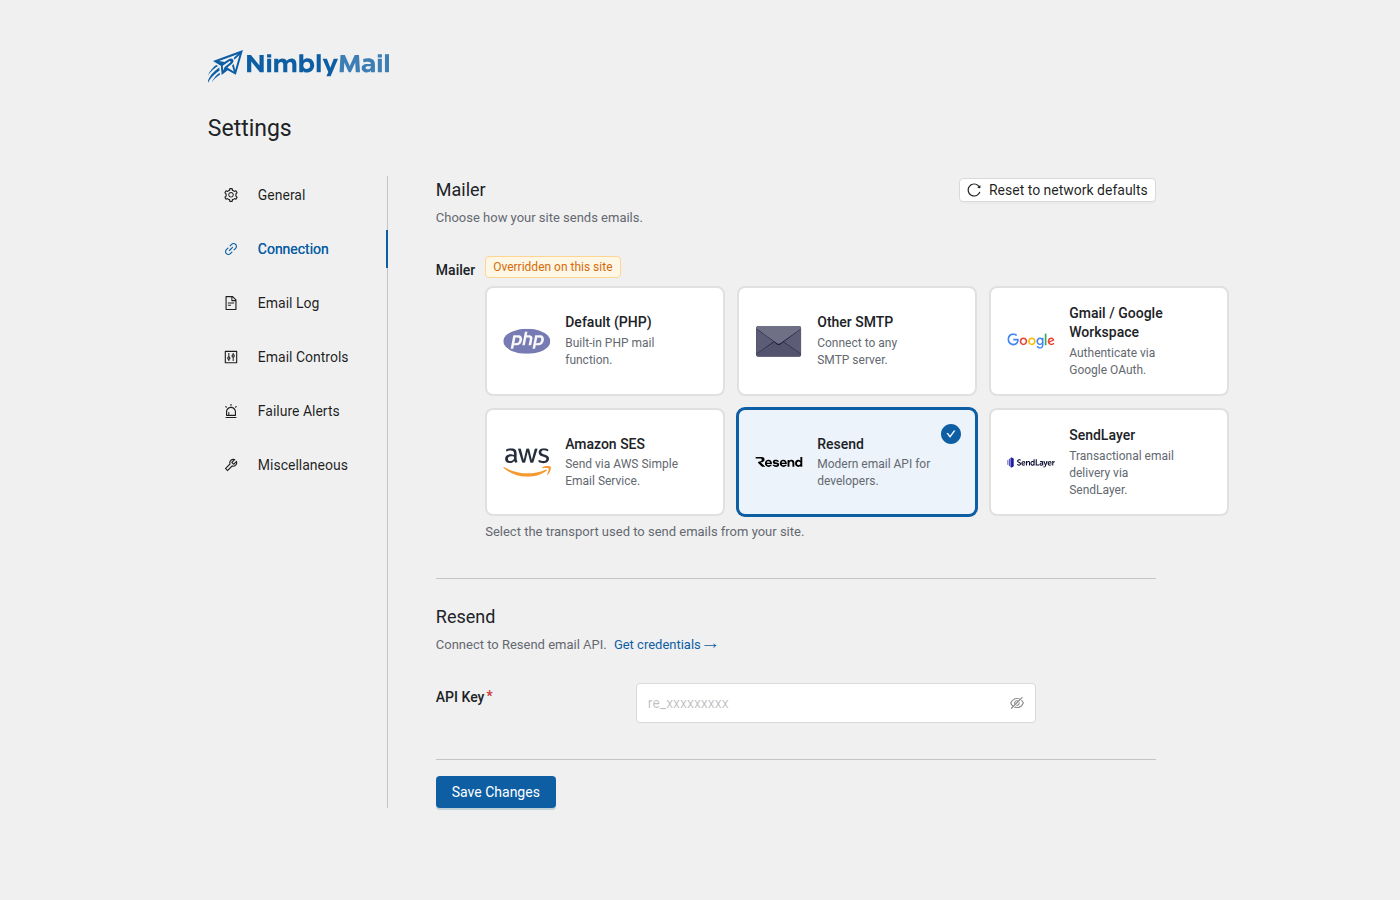
Navigate to WP Admin > NimblyMail > Settings > Connection > Resend.
Step 1 — Create a Resend account
Go to resend.com and sign up. You can sign up with a Google account or an email address.
Step 2 — Add and verify your sending domain
In the Resend dashboard, go to Domains and click Add Domain. Enter the domain you want to send from (e.g., example.com) and click Add.
Resend displays a set of DNS records to add to your domain. These typically include:
- An SPF record (TXT record at
@or a subdomain) - A DKIM record (TXT record at a
resend._domainkeysubdomain) - A DMARC record (TXT record at
_dmarc) — optional but recommended
Log into your DNS provider, add the records, and return to the Resend dashboard. Click Verify DNS Records. DNS propagation can take a few minutes to a few hours depending on your provider.
Wait until the domain status shows Verified before proceeding.
Tip: If your DNS provider shows a CNAME option for DKIM instead of TXT, use CNAME — it allows Resend to rotate the key automatically.
Step 3 — Create an API key
In the Resend dashboard, go to API Keys and click Create API Key.
Give the key a name (e.g., NimblyMail - My Site) and set the Permission to Sending access. Restrict the key to a specific domain if you prefer. Click Add.
Resend displays the API key once. Copy it now — it will not be shown again.
Warning: Copy the API key before closing the dialog. If you lose it, you must create a new one.
Step 4 — Enter the API key in NimblyMail
In WP Admin > NimblyMail > Settings > Connection > Resend, paste your API key into the API Key field. The key starts with re_.
Click Save Settings.
Step 5 — Test delivery
Navigate to WP Admin > NimblyMail > Tools > Email Tester and send a test email to confirm that messages are delivered correctly.
Field Reference
| Field | Description |
|---|---|
| API Key | Your Resend API key. Starts with re_. Stored encrypted. Example: re_123456789. |
Constants (wp-config.php)
define( 'NIMBLY_MAIL_RESEND_API_KEY', 're_123456789_xxxxxxxxxxxxxxxxxxxxxxxxxxxx' );Tip: Defining the API key as a constant in
wp-config.phpprevents it from being changed through the WordPress admin and protects it from being exported in a settings backup.